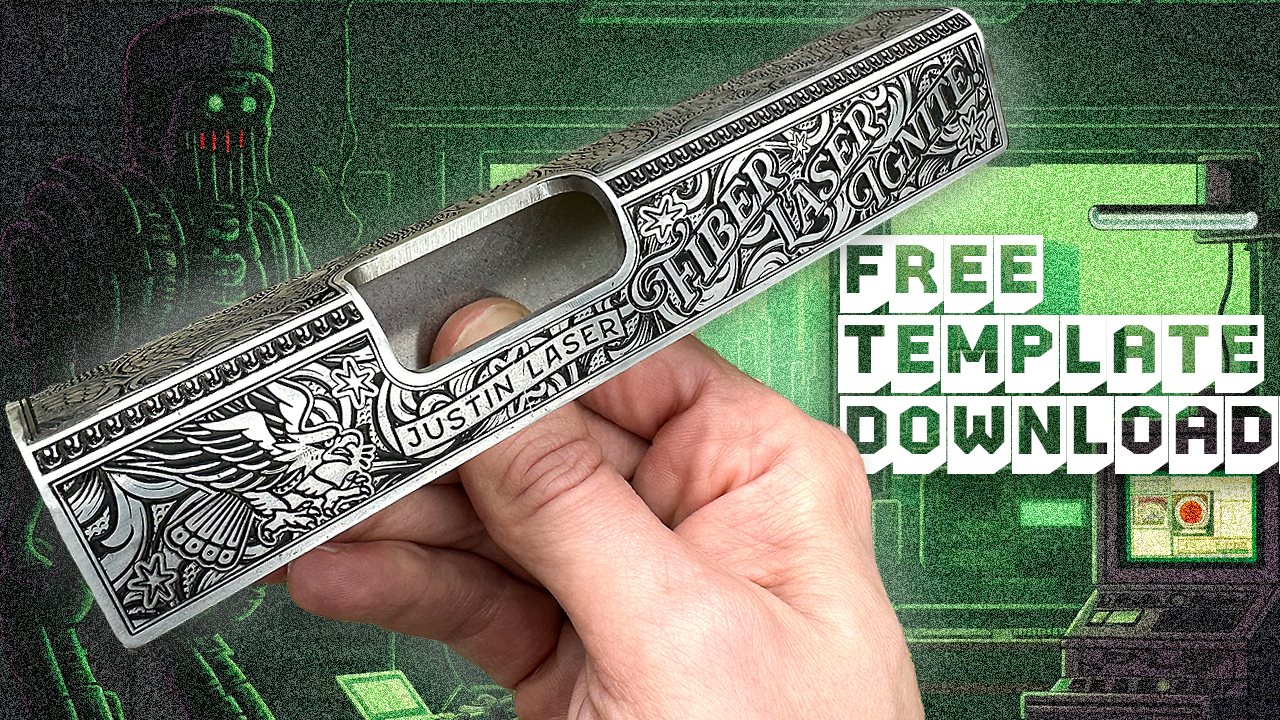
Want to practice gun engraving skills with your laser but dont want to waste money or expensive parts? Do what I do, have custom (fake) practice blanks made!
The first thing you need to do is come up with a basic gun slide design. I’ve already taken care of this step if you wish to use mine. Download the .eps file below:
Create the slide template
Next you will need to upload this template file to the website SendCutSend. They will be making the practice slides for us.
- Select your metal. I use 304 Stainless Steel in the video. Metals like aluminum and mild steel will cost a little less.
- Select your thickness. Thicker will be more expensive. I use 3.2mm.
- Add bends. This is where your slide comes alive. Make sure to add 90 degree bends (down) to your design. It will give you a warning but just click OK.
- Select finishing options. No finish will be cheapest, but also roughest. I added tumbling for my order. Gives a nice practice slide that doesn’t require a lot to finish afterwards.
- Select the quantity. Ordering just 1 will be most expensive so I suggest ordering at least a few for the discount.
All good to go!
If you use my template file and want a design to try out, download the .svg file below:
You will need to import this file into your software of choice. I use Lightburn in the video.
Lightburn Settings
The settings I used are as follows (60w JPT MOPA fiber):
Engrave (5 passes)
- Speed: 950 mm/sec
- Power: 95%
- Frequency: 48khz
- Q-Pulse: 200ns
- Line Interval: .025
- Scan Angle: 45deg
- Rotation: 71deg – Auto-Rotate
- Speed: 2000 mm/sec
- Power: 20%
- Frequency: 100khz
- Q-Pulse: 200ns
- Line Interval: .025
- Scan Angle: 0
Total passes per graphic: 100
Need help learning Lightburn?
Check out my beginner’s crash course on how to use Lightburn with your fiber laser, Fiber Laser Ignite!
Need a fiber laser?
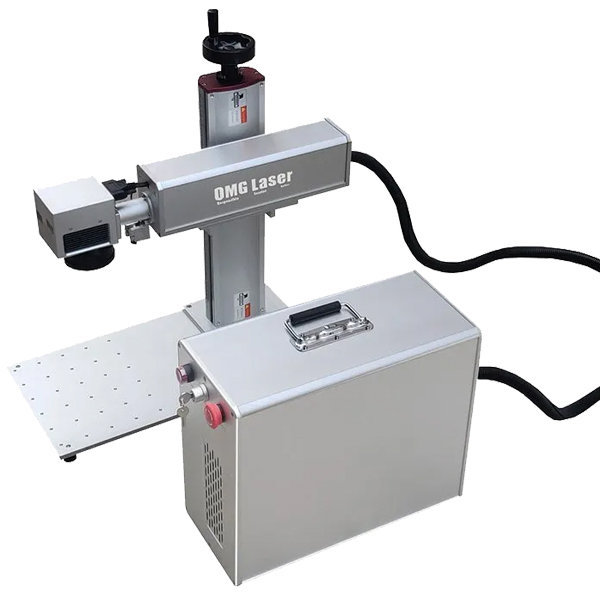
Contact Richard at OMG Laser and tell him you want the same laser as Justin. He will ship it to your door!